Quick Start Guides
Guides to quickly get started with this mattie-bundle for Strapi. 📚
Checkout the example in the monorepo for an advanced use case.
Search plugin with Algolia provider
This guide will provide a step-by-step explanation on how to setup content indexing to Algolia for a Strapi v4 application.
The six steps will explain in detail how to setup a basic Strapi application, your Algolia application, the basic plugin config and how to index your first entry to Algolia.
Prerequisites
- Node (supported versions)
- Yarn or npm
- Basic Strapi knowledge (Strapi quick start guide)
1. Strapi application
First we start by creating a fresh Strapi application, run the following command.
yarn create strapi-app search-with-algolia --quickstart
npx create-strapi-app search-with-algolia --quickstart
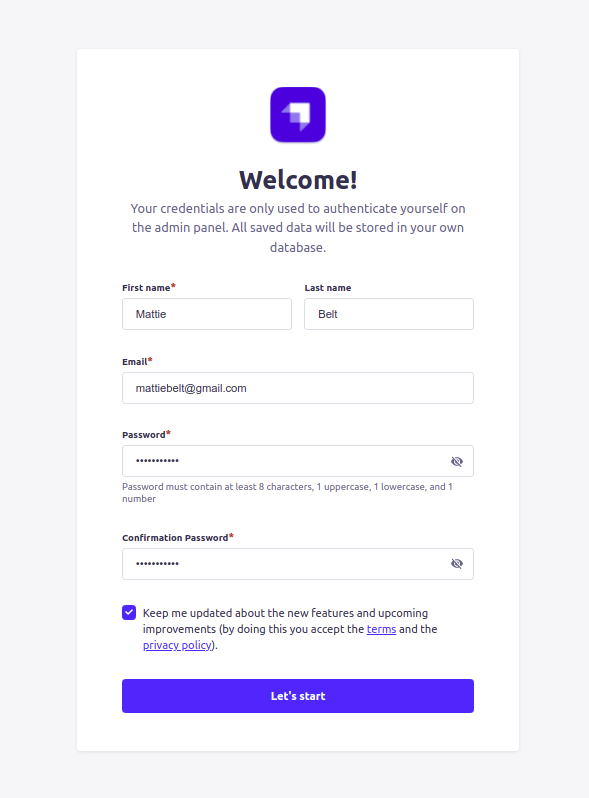
After the Strapi application has been created register your first administrator.
2. Create a Post collection type
After registering the initial administrator, we can use the Content-Type Builder to create our first collection type Post. Navigate to the Content-Type Builder and create a new collection type with the following configurations and example fields:
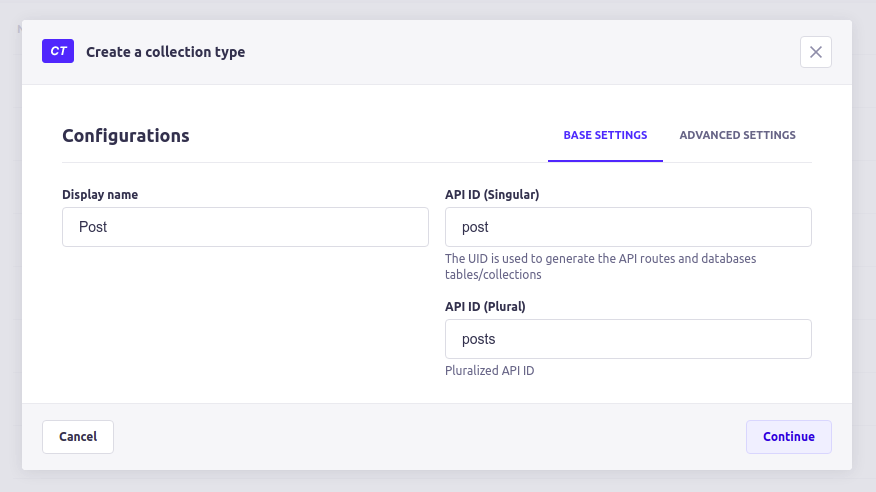

Save the collection type and wait for the server to restart.
3. Sign up and create your Algolia application
If you don't already have an Algolia application you can create on by signing up at algolia.com/users/sign_up. Once you have created you Algolia application, navigate to Settings > Team and Access > API Keys or algolia.com/account/api-keys.
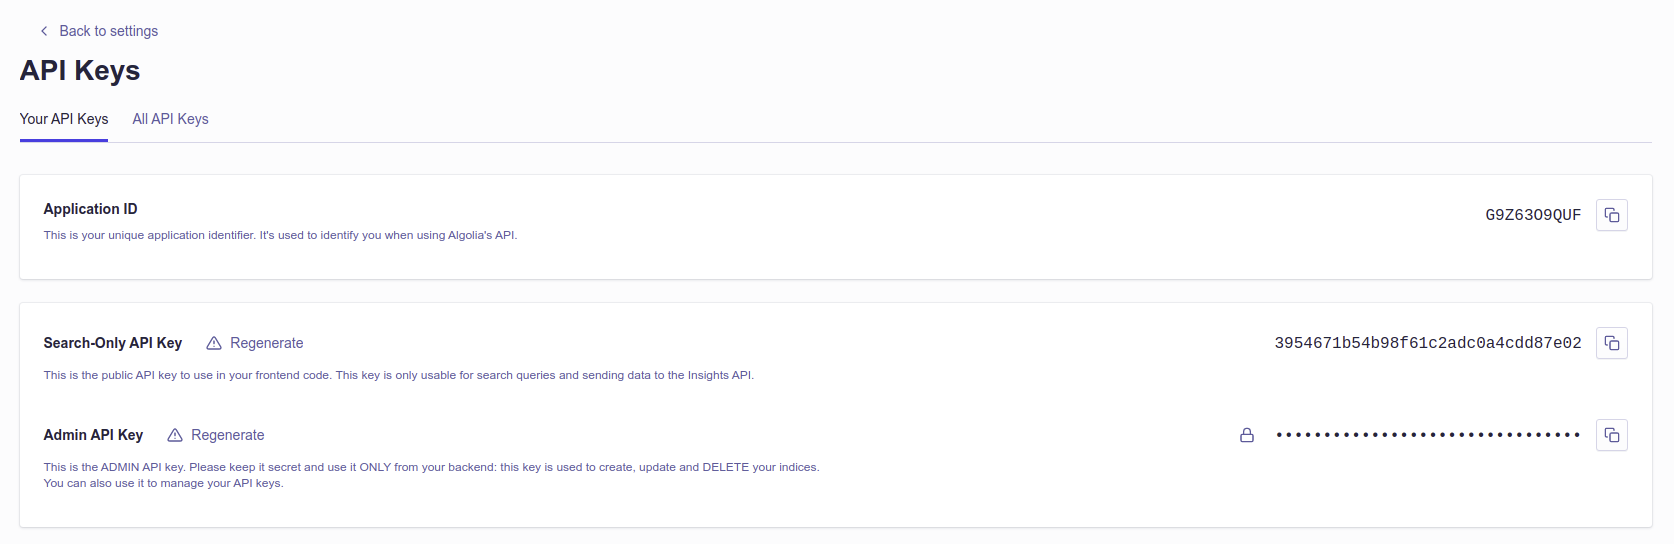
Copy your Application ID and Admin API Key to the .env file in your project root.
// ...
ALGOLIA_PROVIDER_APPLICATION_ID=G9Z63O9QUF
ALGOLIA_PROVIDER_ADMIN_API_KEY=043d7•••••••••••••••••••••••8102
4. Install plugin and provider
Stop your Strapi application, navigate to your strapi project with cd search-with-algolia in your terminal and install the Search plugin and the Algolia provider packages with:
yarn add @mattie-bundle/strapi-plugin-search @mattie-bundle/strapi-provider-search-algolia
npm install @mattie-bundle/strapi-plugin-search @mattie-bundle/strapi-provider-search-algolia
5. Configure the plugin and provider
After the packages have been installed we can configure the Search plugin and the Algolia provider in the ./config/plugins.js file with the following example below. If the plugins.js file doesn't exist you can create a new file.
'use strict';

module.exports = ({ env }) => ({
  // ...
  search: {
    enabled: true,
    config: {
      provider: 'algolia',
      providerOptions: {
        apiKey: env('ALGOLIA_PROVIDER_ADMIN_API_KEY'),
        applicationId: env('ALGOLIA_PROVIDER_APPLICATION_ID'),
      },
      contentTypes: [{ name: 'api::post.post' }],
    },
  },
});
6. Index a Post entry ✨
Everything is correctly setup! Let's start the Strapi application with yarn develop or npm run develop and create the first Post entry.
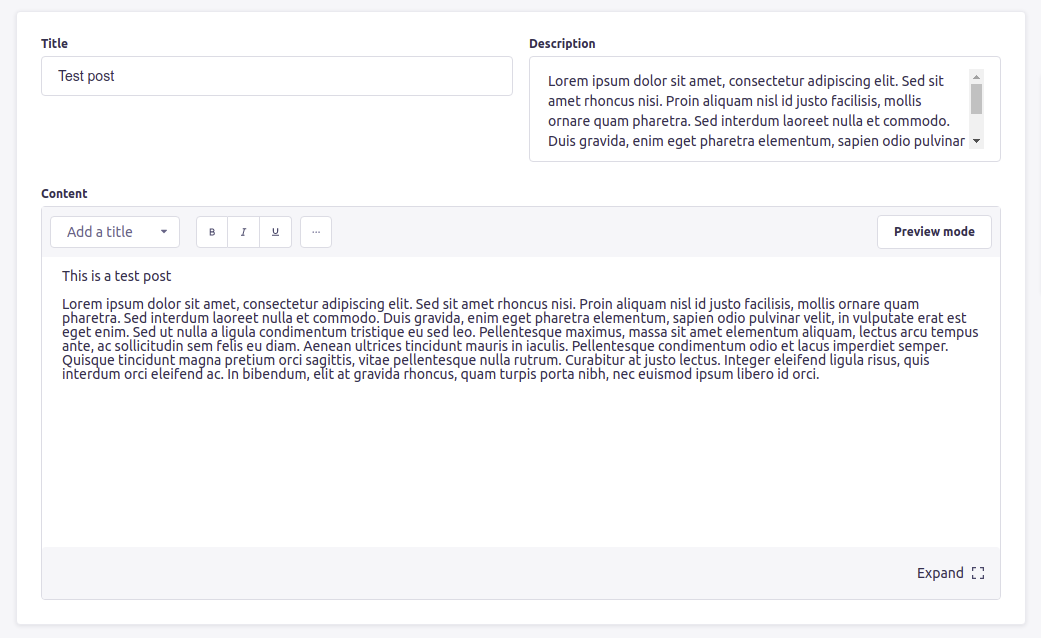
After the server has started go to the admin panel (http://localhost:1337/admin) and navigate to Content Manager > COLLECTION TYPES > Post and click on + Create new Entry. Now create your first Post and hit Save and Publish to index this entry into your Algolia application.
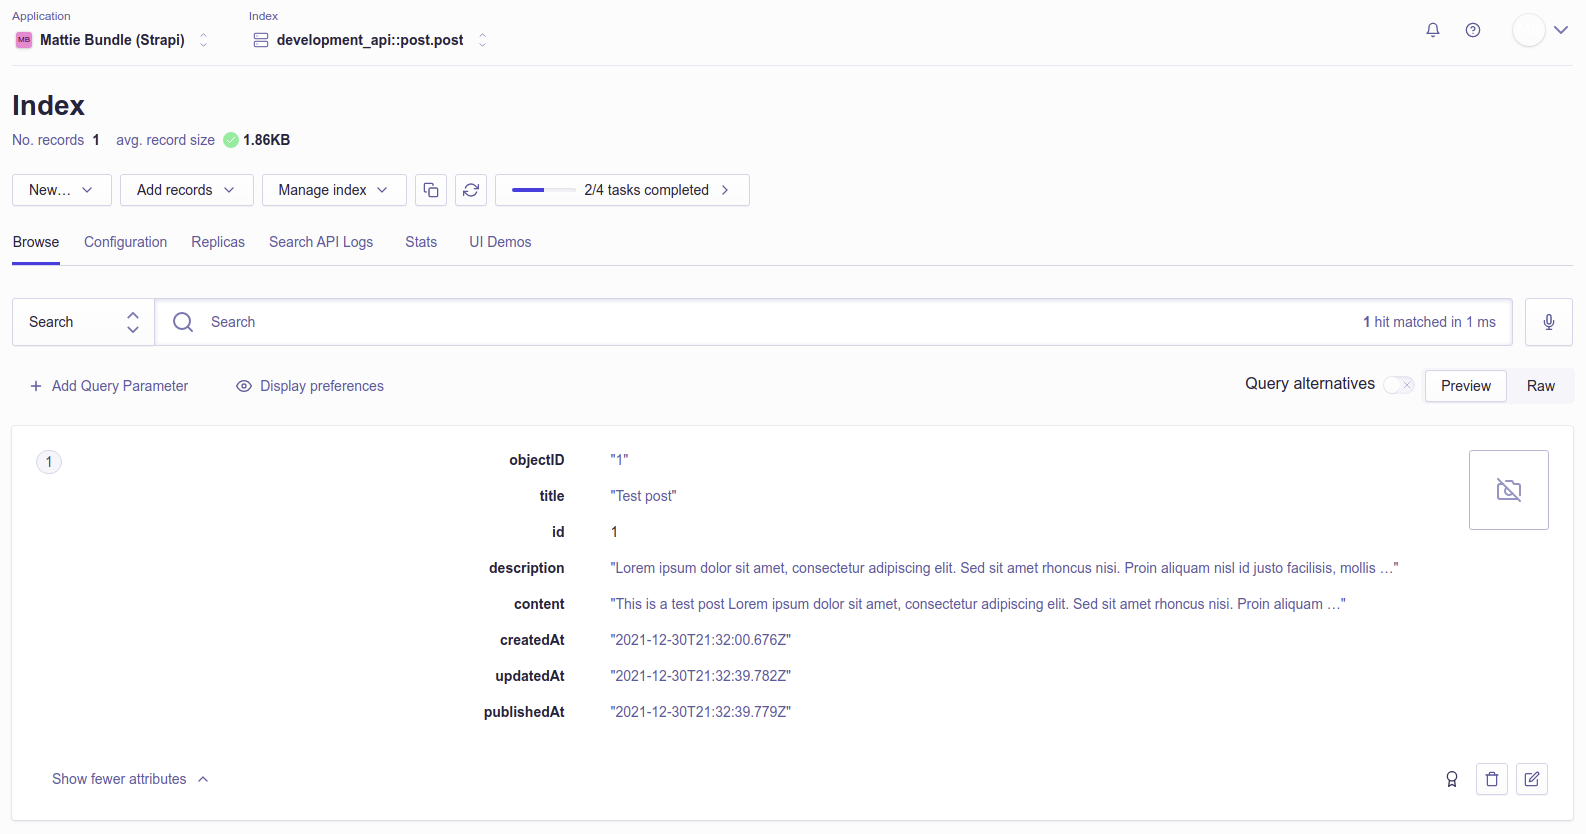
Now the entry is saved, check your Algolia application if it has been indexed successfully, in the Algolia dashboard you should see something similar as the image below.